Navigation überspringen
Seiteninhalt:
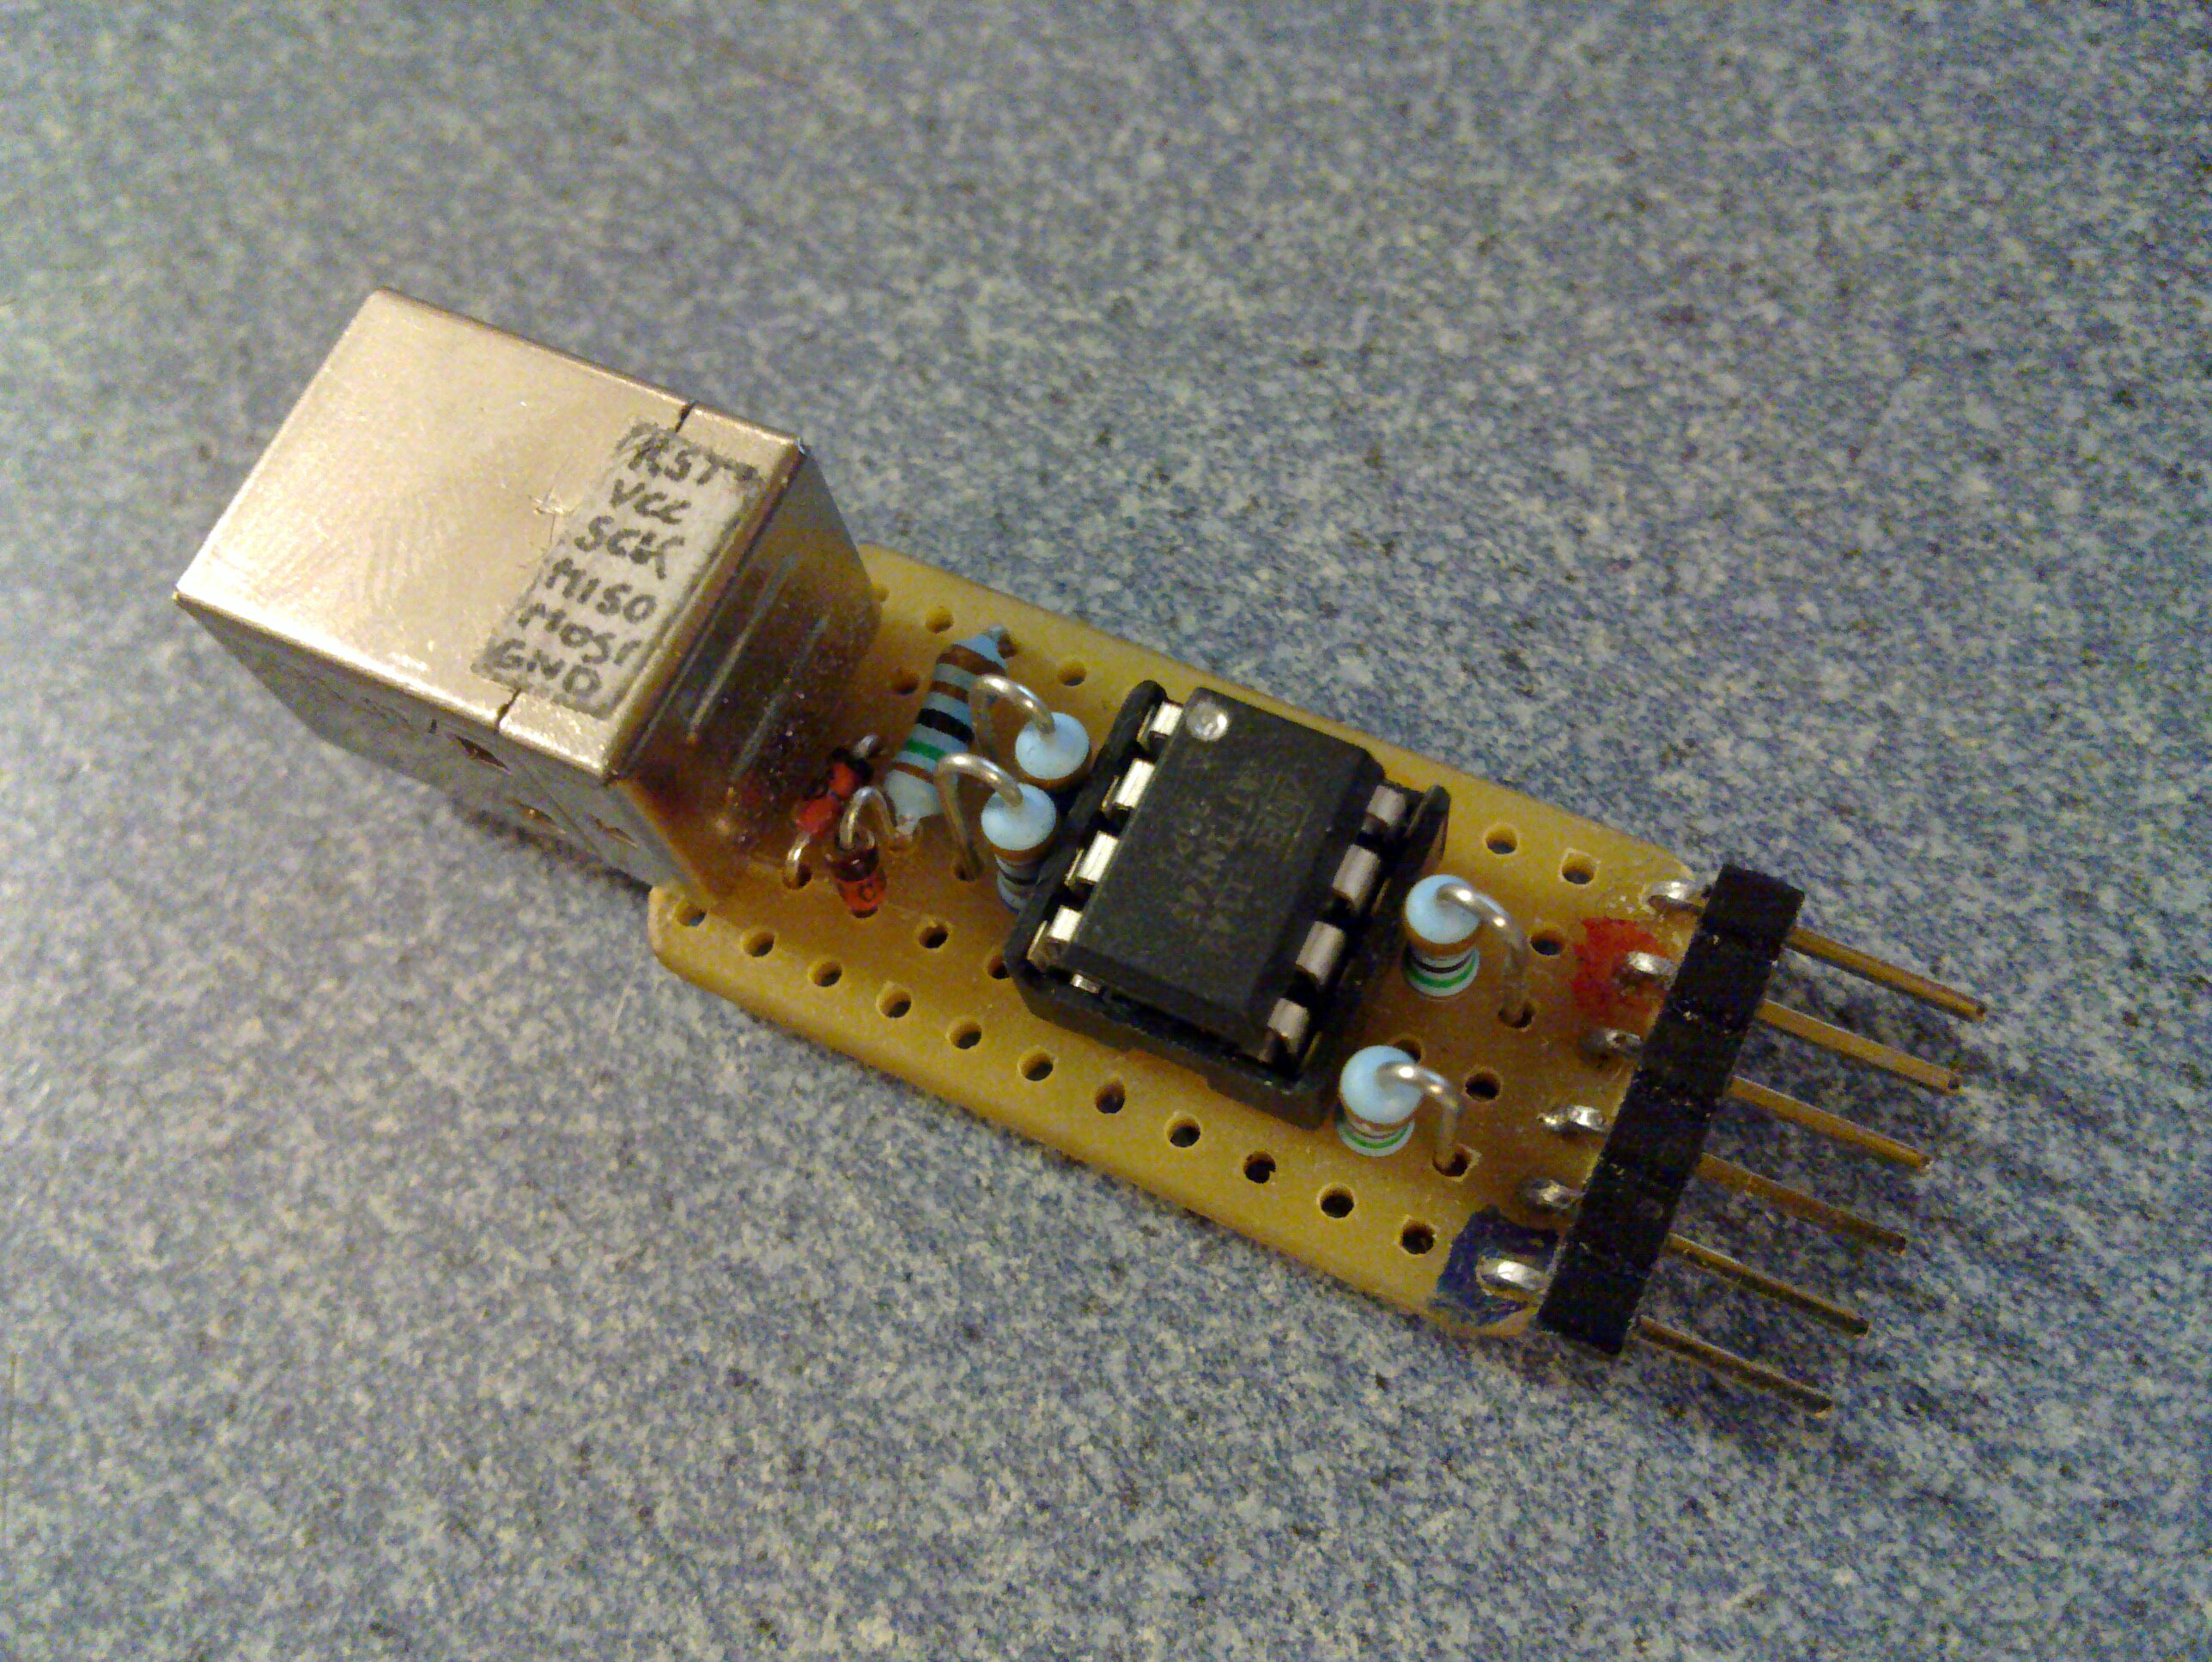
Building a vusbtiny ISP adapter
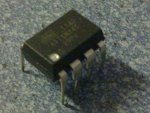
Marked Chip
Thanks to simpleavr.com, making your own ISP
programmer is quite simple. Because people keep asking me, I sell a kit to the people at the Metalab.
The µC in my kit has already been flashed with an updated version of the firmware
from simpleavr.com. If the chip is marked with a silver dot near pin 1, you can skip the flashing procedure.
Making the board
- Soldering iron
- Solder
- File
- Cutter knife
- Flat pliers
- Diagonal pliers
- (*) Magnifyer glass
- (*) Tweezers
- (*) Pen
- (#) Multimeter
(*) Optional, (#) Highly recommended
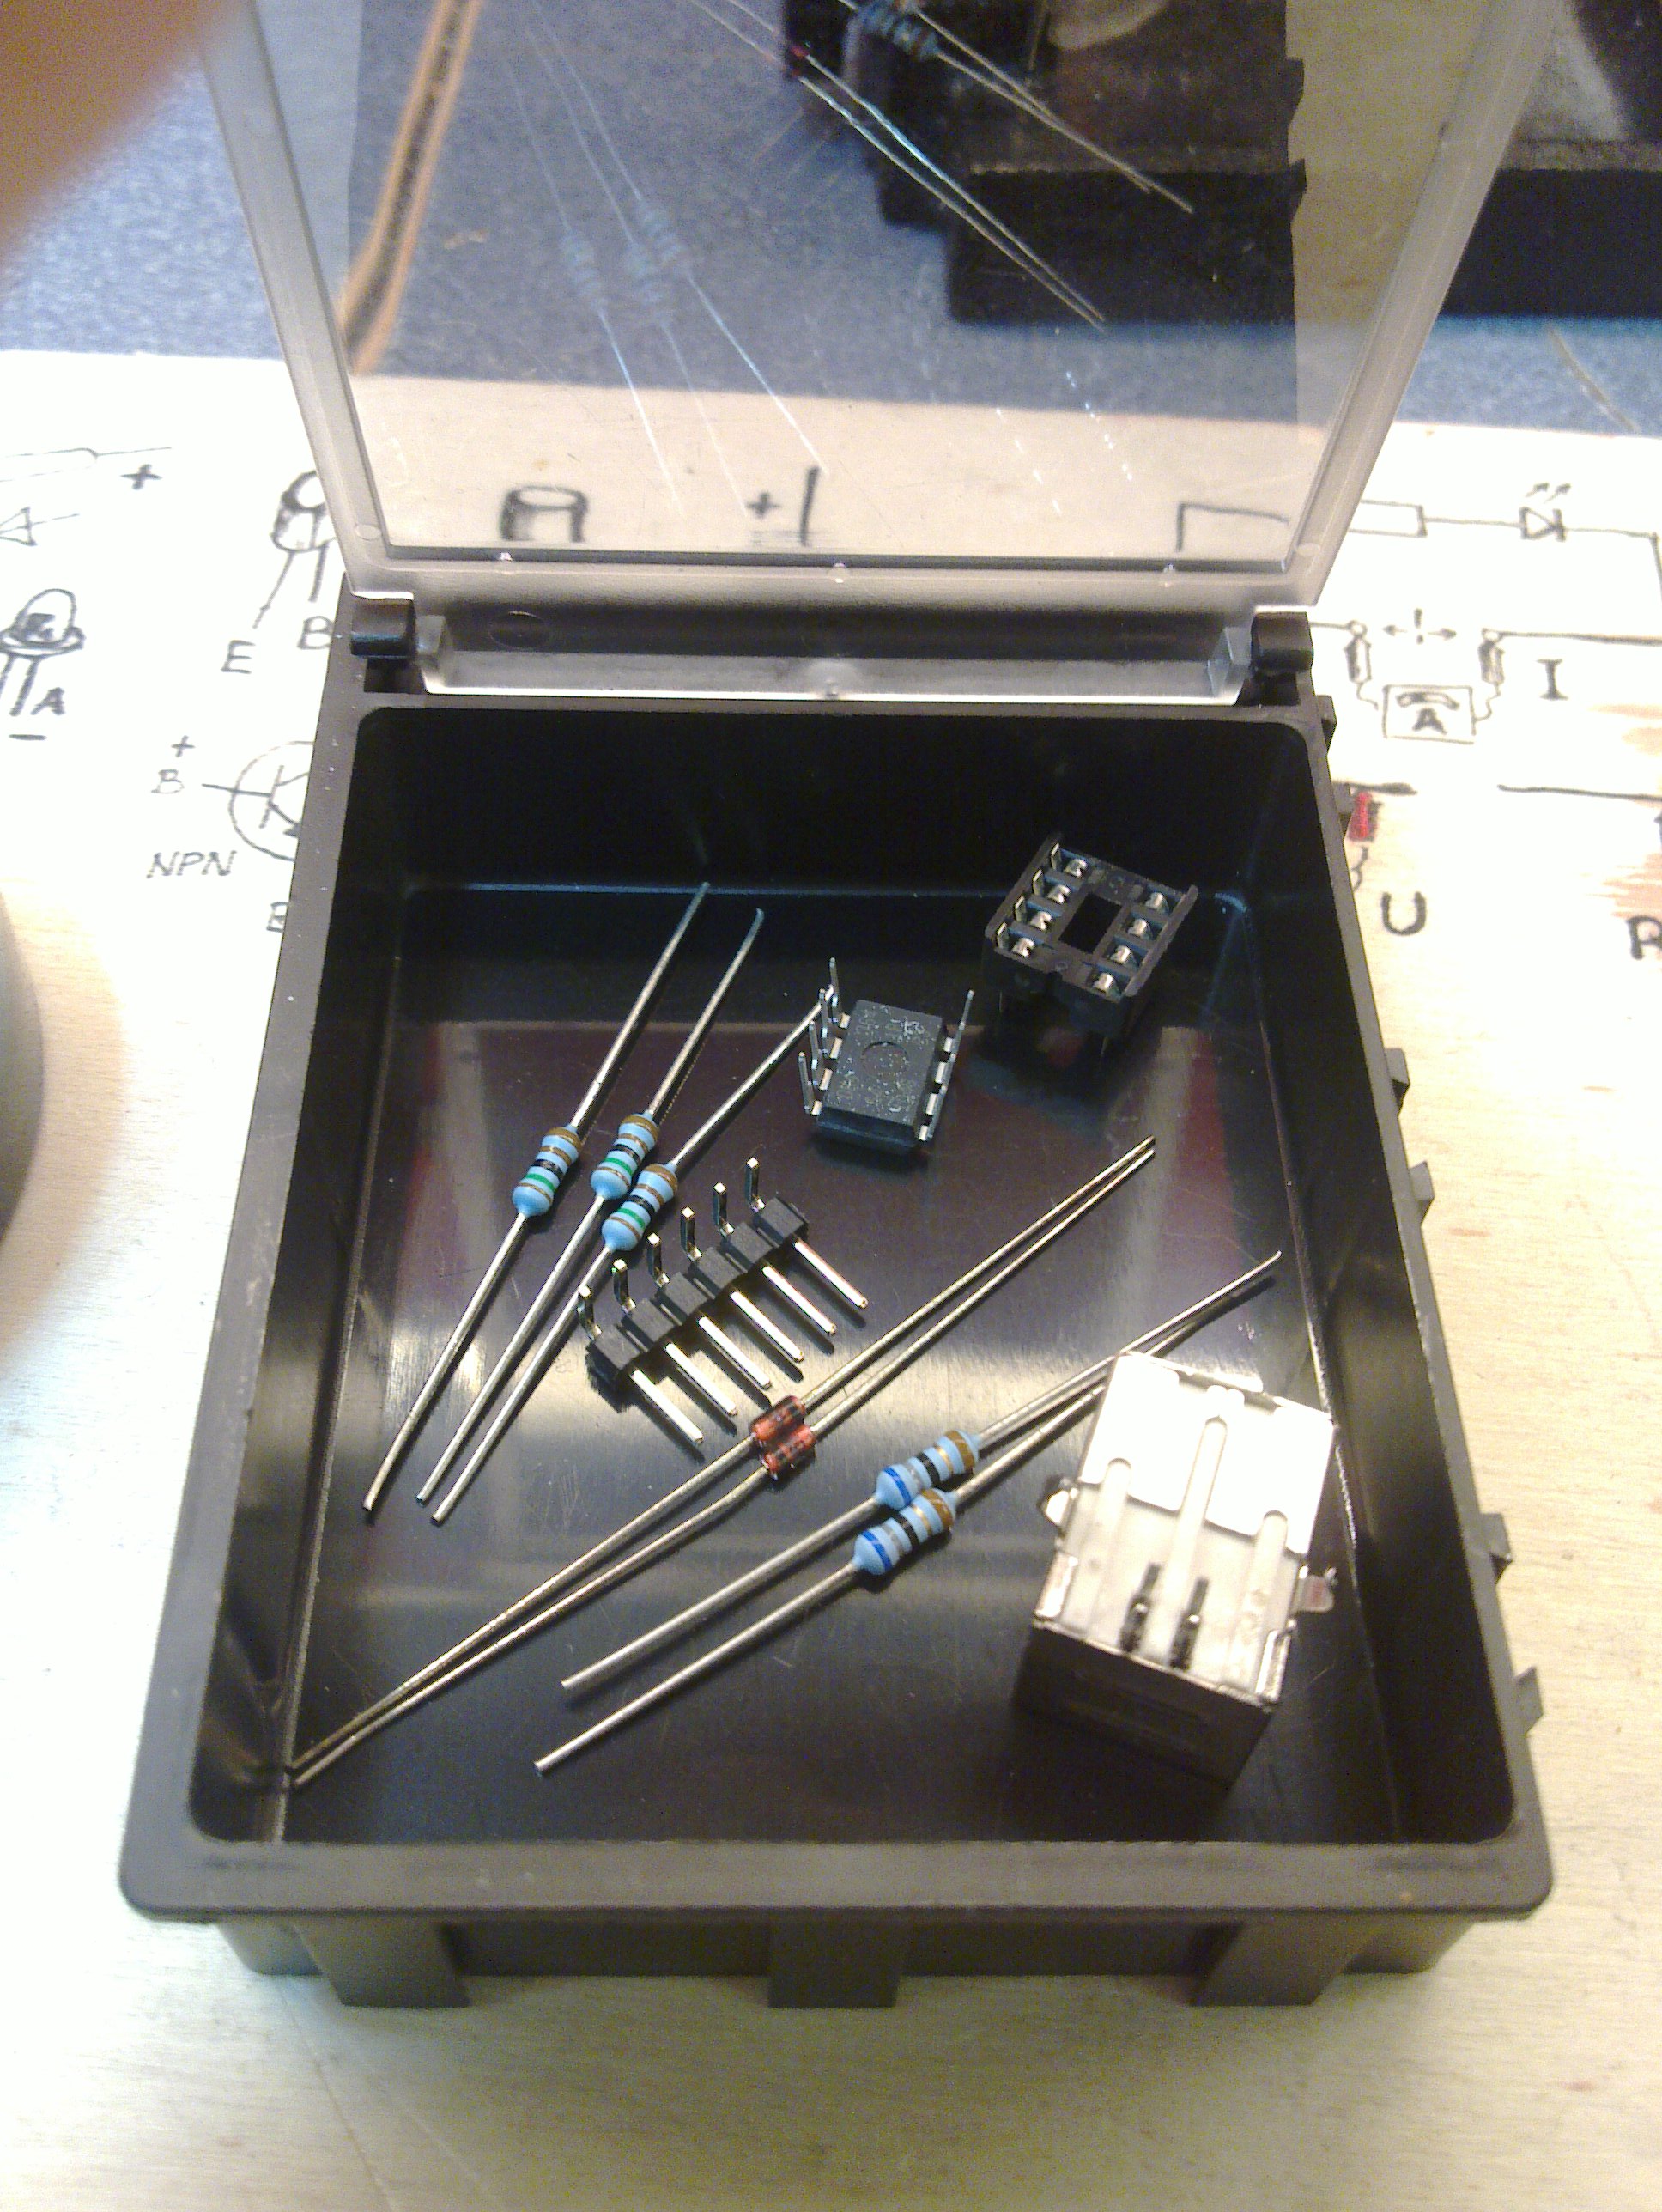
2. Parts
- (L3) Pre-programmed
ATtiny45 MCU
- (D5) 8-DIP socket
- (N0) 2x 68 Ohm resistors
- (O3) 3x 1500 Ohm resistors
- (J7) 2x Zener diodes (3.6V, 0.5W)
- (A9) USB Type B jack
- (B6) Angled Pin Strip (6 Pins)
- Perfboard
- Label
- Wire (not included in the kit)
- Jumper wire (M/M, not included in the kit)
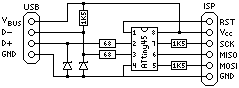
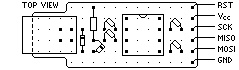
3. Circuit and wiring diagrams
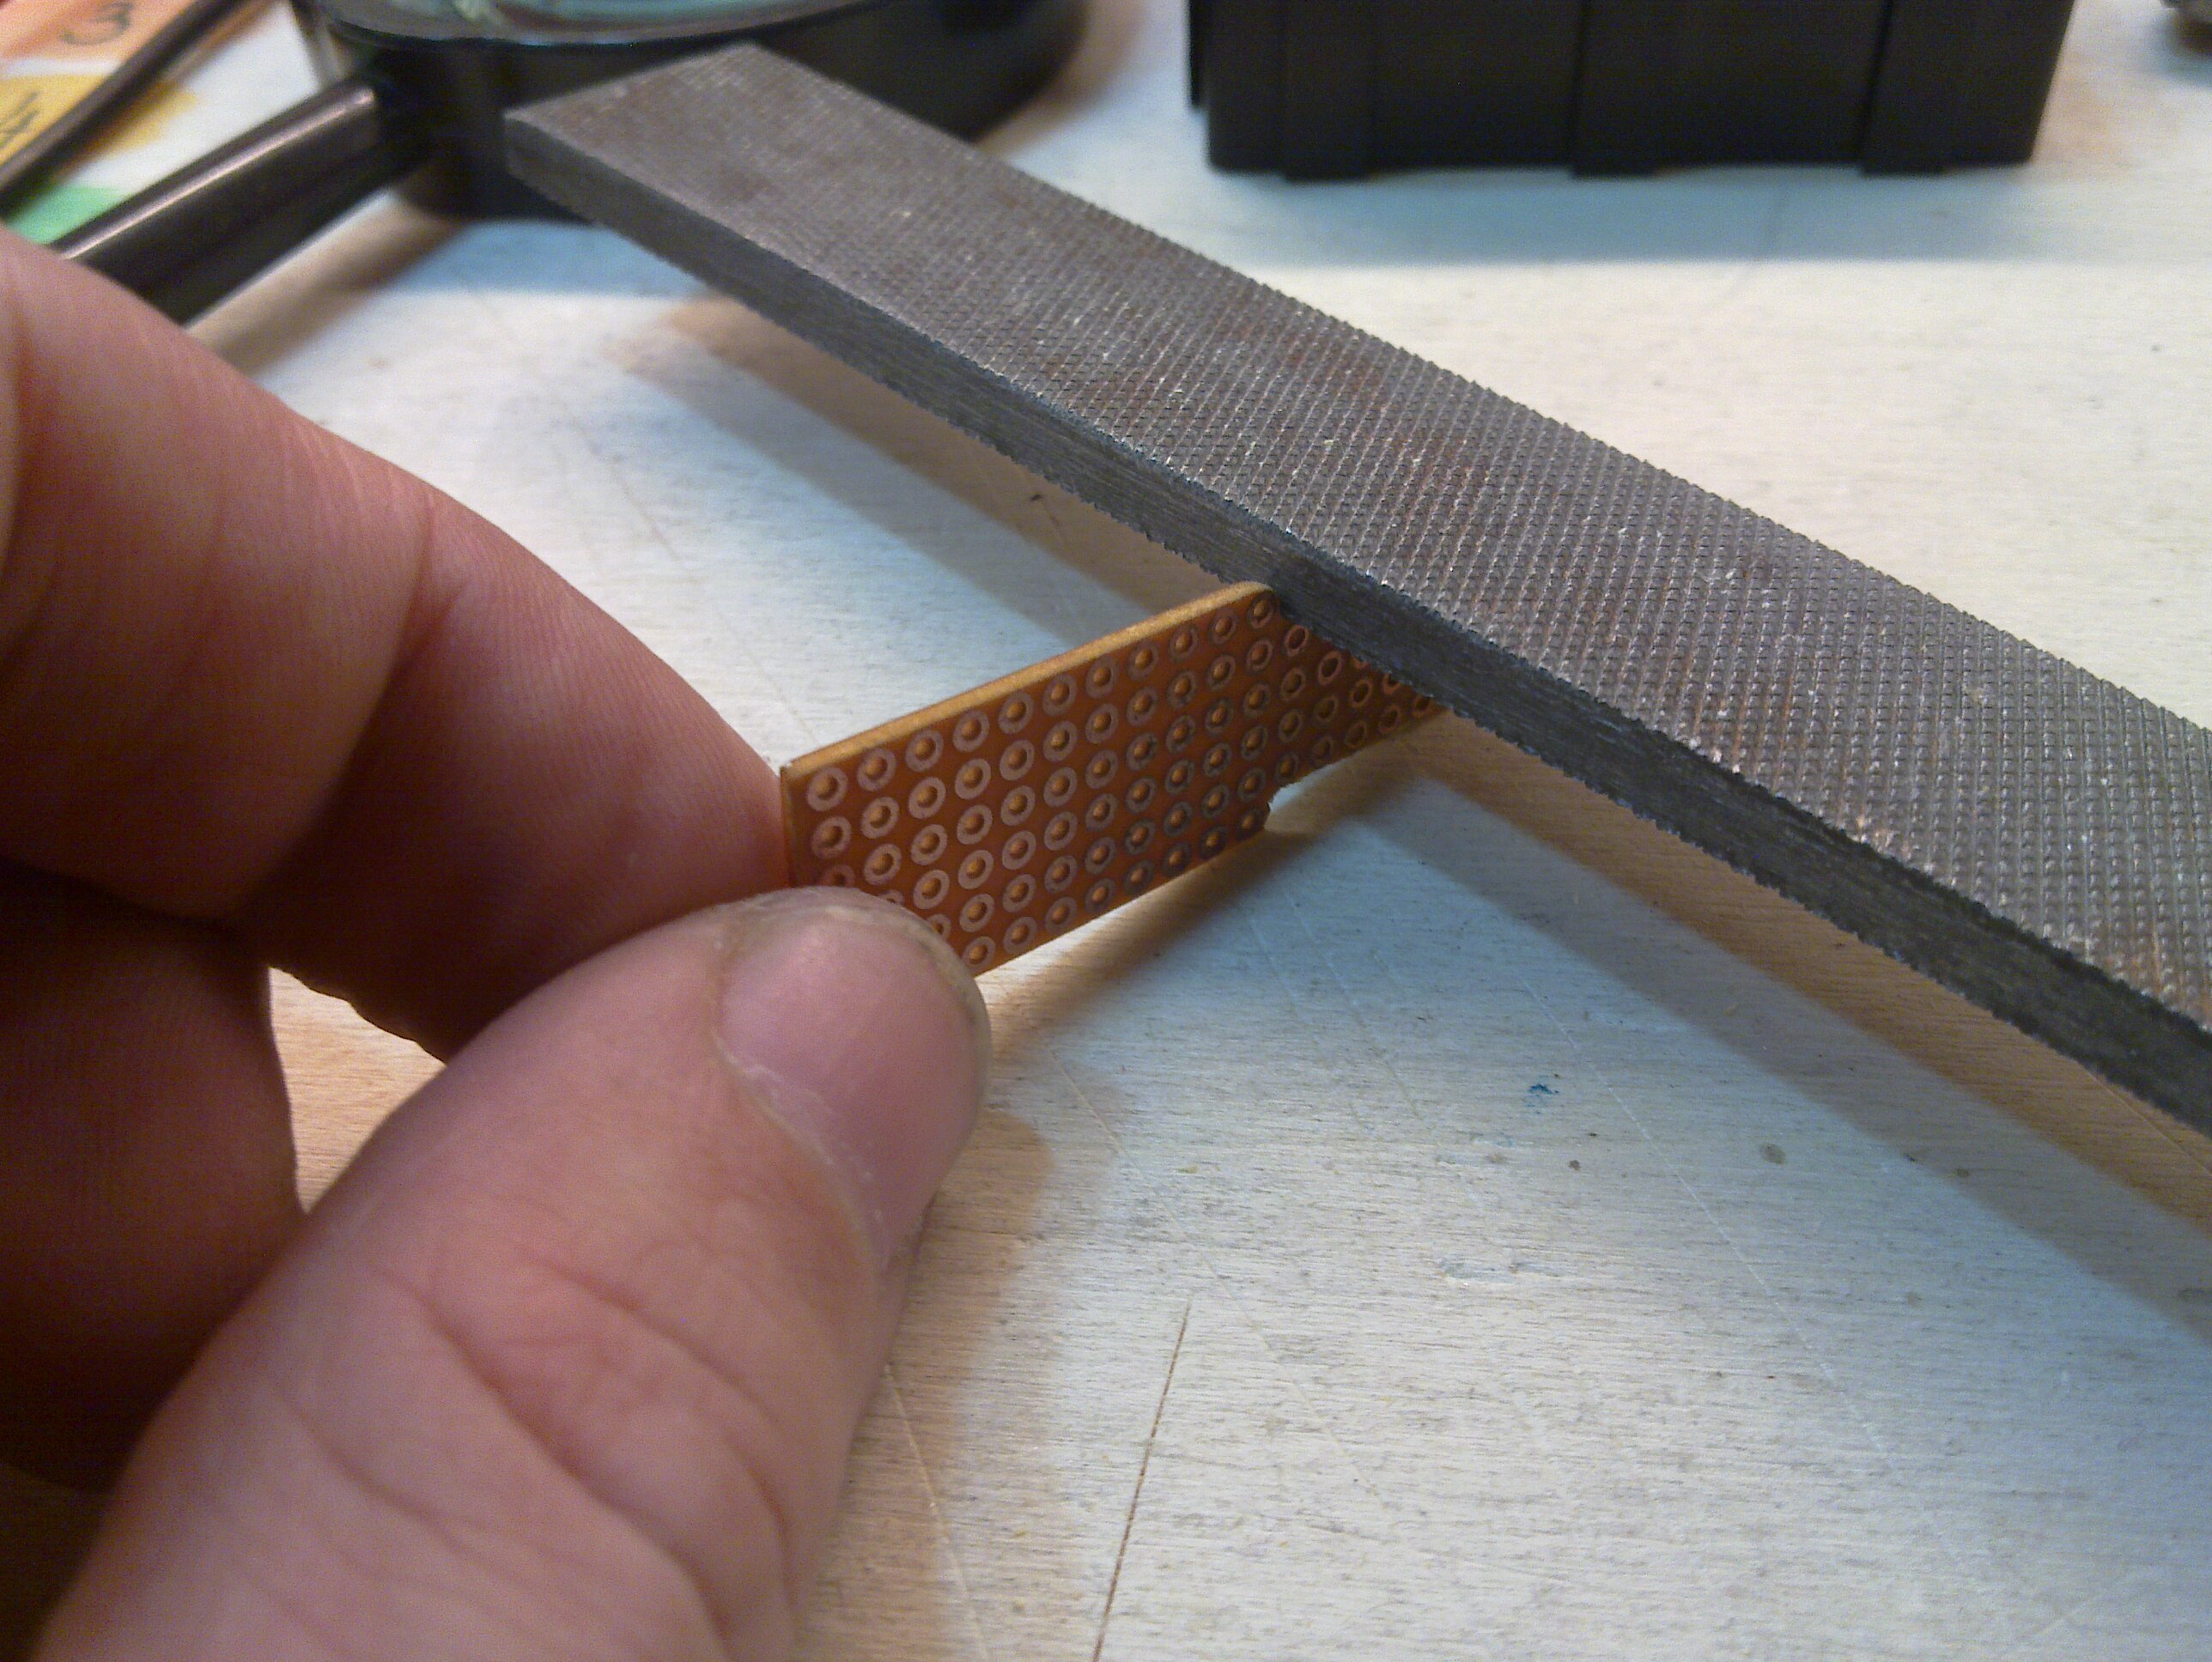
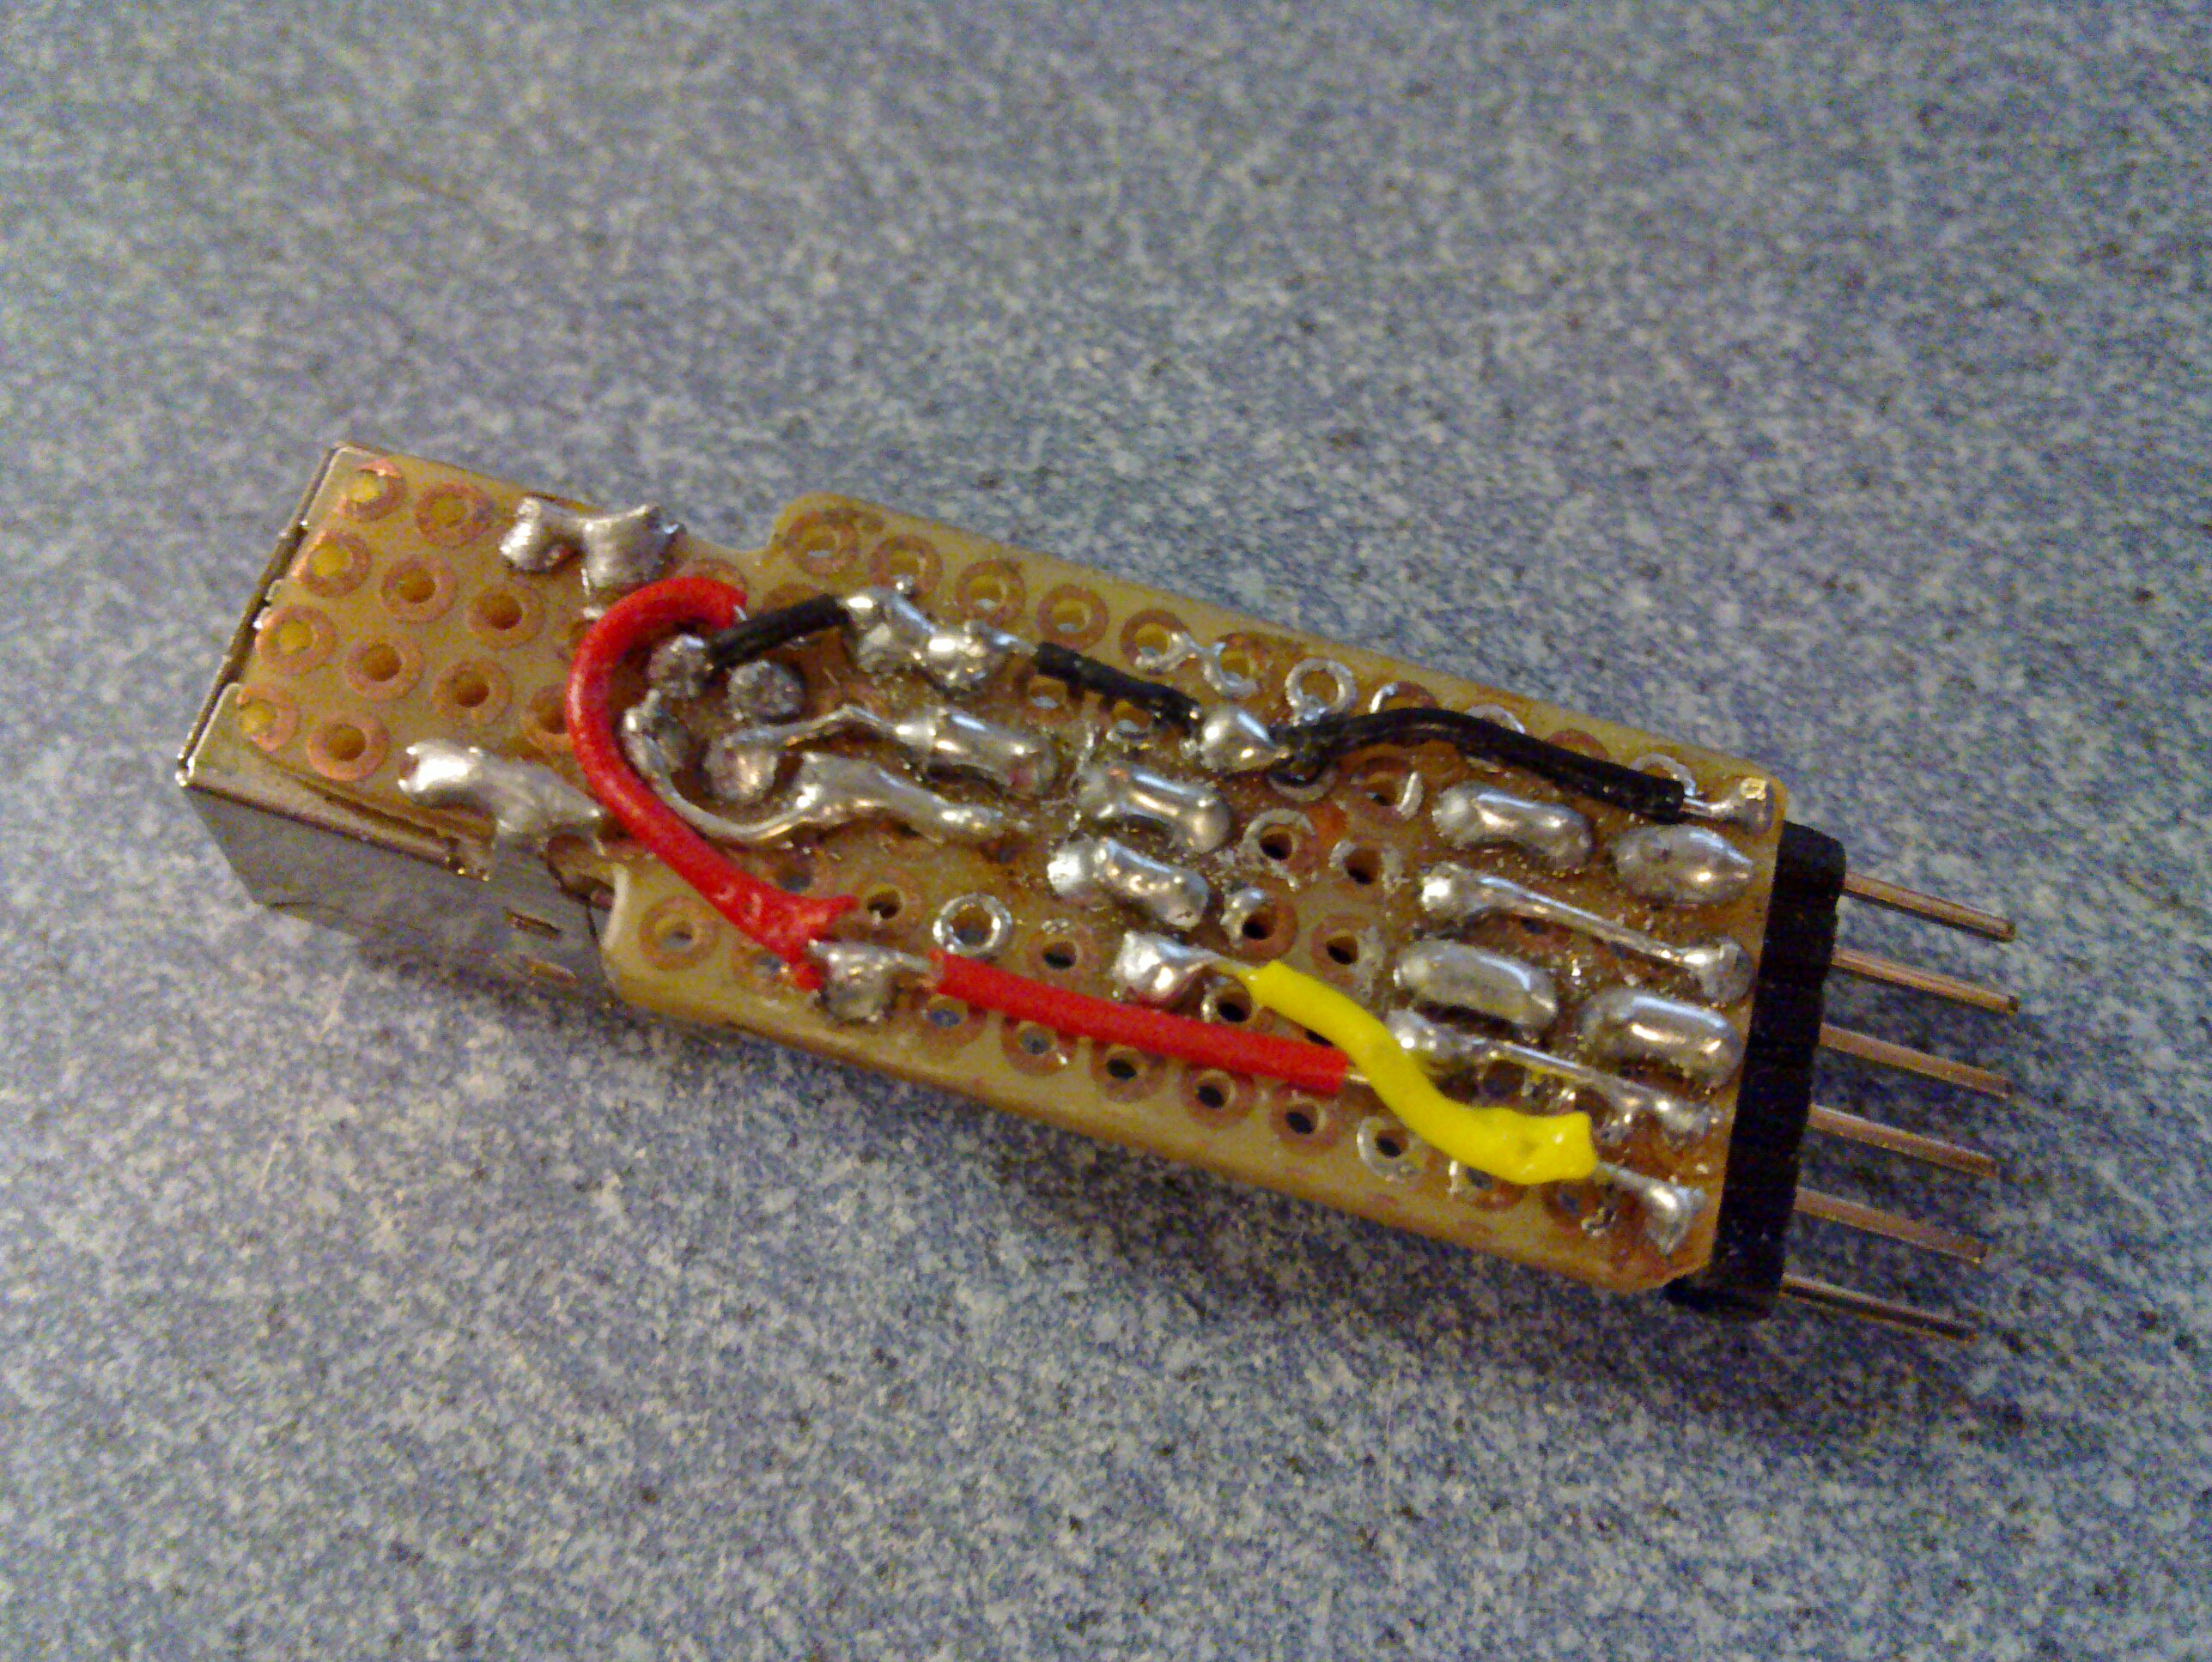
5. Soldering
Note, that in one spot, two parts share one hole (The Zener diode and 1.5KOhm resistor, connected to D-,
see Top View diagram and top view photo).
Preparing your host system
sudo apt-get install gcc-avr avr-libc avrdude
Flashing the chip
You can either head to the simpleavr web site and get the firmware from their server, or you can
download an updated version of the firmware (with a minor bug fix)
from this server.
If you got yourself a brand new ATtiny45, you will need another programmer to upload the firmware.
I assume that you either have a pre-flashed µC
or you already have have a working USBtiny ISP.
The following commands will flash the firmware onto the chip and set the fuses accordingly
(mainly for getting the right CPU speed needed for USB communication):
avrdude -c usbtiny -p attiny45 -P usb -U flash:w:vusbtiny.hex
avrdude -c usbtiny -p t45 -V -U lfuse:w:0xe1:m -U hfuse:w:0x5d:m -U efuse:w:0xff:m
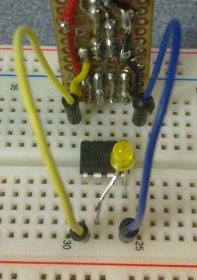
Usage
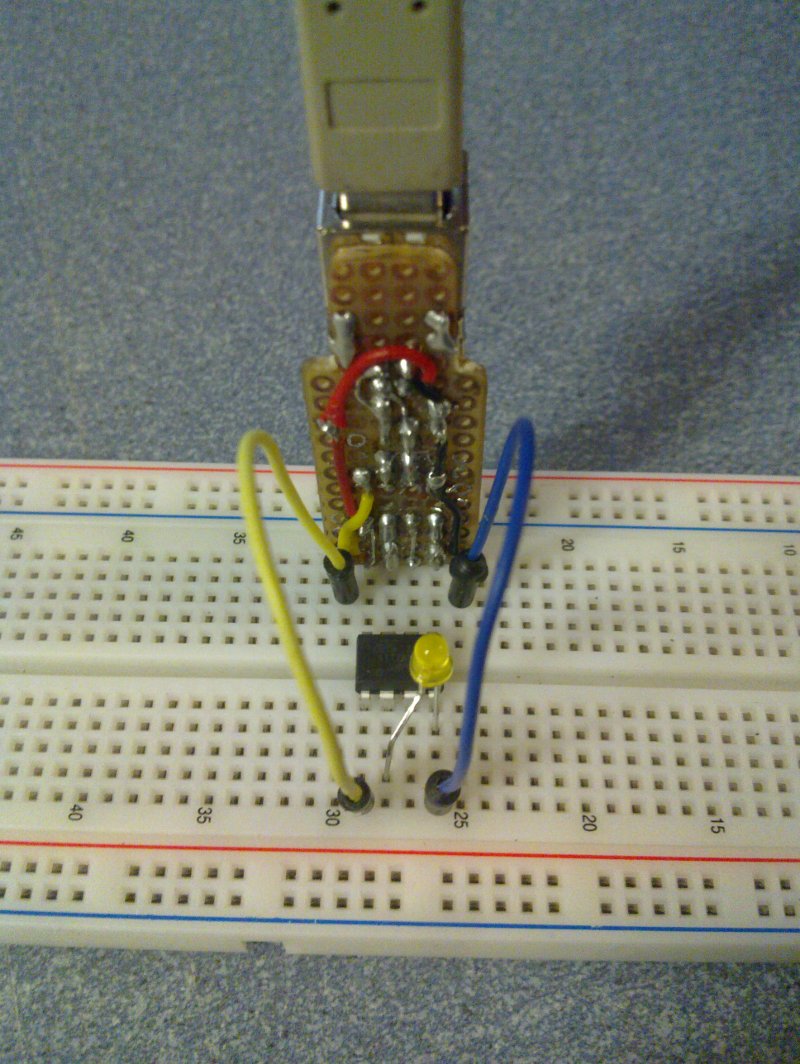
This section shows how to create a blinken-thingy with an ATtiny45.
Wire up your µC and the programmer like shown in the following image.
You might want to add a protective 250 Ohm resistor as shown in the diagram in blink.c.
avr-gcc -Wall -Os -mmcu=attiny45 -DF_CPU=1000000L myfile.c
avr-objcopy -j .text -j .data -O ihex a.out a.hex
avrdude -p attiny45 -c usbtiny -P usb -U flash:w:a.hex
Open your favorite text editor and paste the following code:
// blink.c
/******************************************************************************
* BLINK EXAMPLE for avr-gcc
*******************************************************************************
*                                       +5V
*                        ATtiny45        |
*                       .---------.      |
*              ____    1|Reset Vcc|8-----'
*   .---|<|---|____|---2|PB3   PB2|7
*   |   LED     R1     3|PB4   PB1|6          LED: Typical red, 20mA
*   +------------------4|GND   PB0|5           R1: 250 Ohm
*   |                   '---------'
*   |
*  GND
******************************************************************************/
#include <avr/io.h>
#include <util/delay.h>

#define LED_DDR     DDRB    /* Data Direction Register for Port B      */
#define LED_PORT    PORTB   /* 8 bit corresponding to 8 pins           */
#define LED_PIN_NR  3       /* Arduino's debug-LED is connected to PB5 */

int main(void)
{
    LED_DDR = (1 << LED_PIN_NR);   /* Configure as output pin */

    while (1) {   /* Endless loop */

        LED_PORT |=  (1 << LED_PIN_NR);   /* Set pin to HIGH (5V) */
        _delay_ms(999);

        LED_PORT &= ~(1 << LED_PIN_NR);   /* Set pin to LOW (GND) */
        _delay_ms(999);
    }

    return 0;   /* Never reached, but prevents compiler warning */
}
Save the file into a project folder and name it blink.c.
Open a terminal window, cd into the folder.
Use avr-gcc to compile your source and get an object file (a.out):
avr-gcc -Wall -Os -mmcu=attiny45 -DF_CPU=1000000L blink.c # Compiling blink.c → a.out
(Not setting an output file will cause avr-gcc to create a file a.out.)
Next, create an Intel Hex File
(a.hex
) from the object file:
avr-objcopy -j .text -j .data -O ihex a.out a.hex # Converting a.out → a.hex
Finally, use avrdude to upload the new firmware to your ATtiny45
(make sure, the programmer is connected to the PC via USB):
avrdude -p attiny45 -c usbtiny -P usb -U flash:w:a.hex # Uploading a.hex → Flash memory
If avrdude does not have access to the USB device,
call it with sudo:
sudo avrdude -p attiny45 -c usbtiny -P usb -U flash:w:a.hex
When trying different AVR chips, I experienced some minor problems with the vusbtiny programmer.
Especially the ATtiny26' made me wonder; Usually just trying to flash the hex file a second time
solves the stubbornness of the programmer. In hard cases re-plugging the programmer helped.
Supplemental
Even though someone with knowledge said that this Makefile is rather wrong,
the following thing actually works. Mind that the indentation must be done
with the TAB character:
datarecord: datarecord.cc
	g++ -Wall -o datarecord datarecord.cc

%.elf: %.c
	avr-gcc -Wall -Os -std=gnu99 -mmcu=attiny45 -DF_CPU=1000000L -o $@ $^

%.hex: %.elf
	avr-objcopy -j .text -j .data -O ihex $^ $@

%.prog: %.hex
	avrdude -p attiny45 -c usbtiny -P usb -U flash:w:$^
I shall provide a better Makefile soon™.
Content Management:
μCMS α1.6